
Last updated October 17, 2026
 Metal roofing
 Architectural shingles
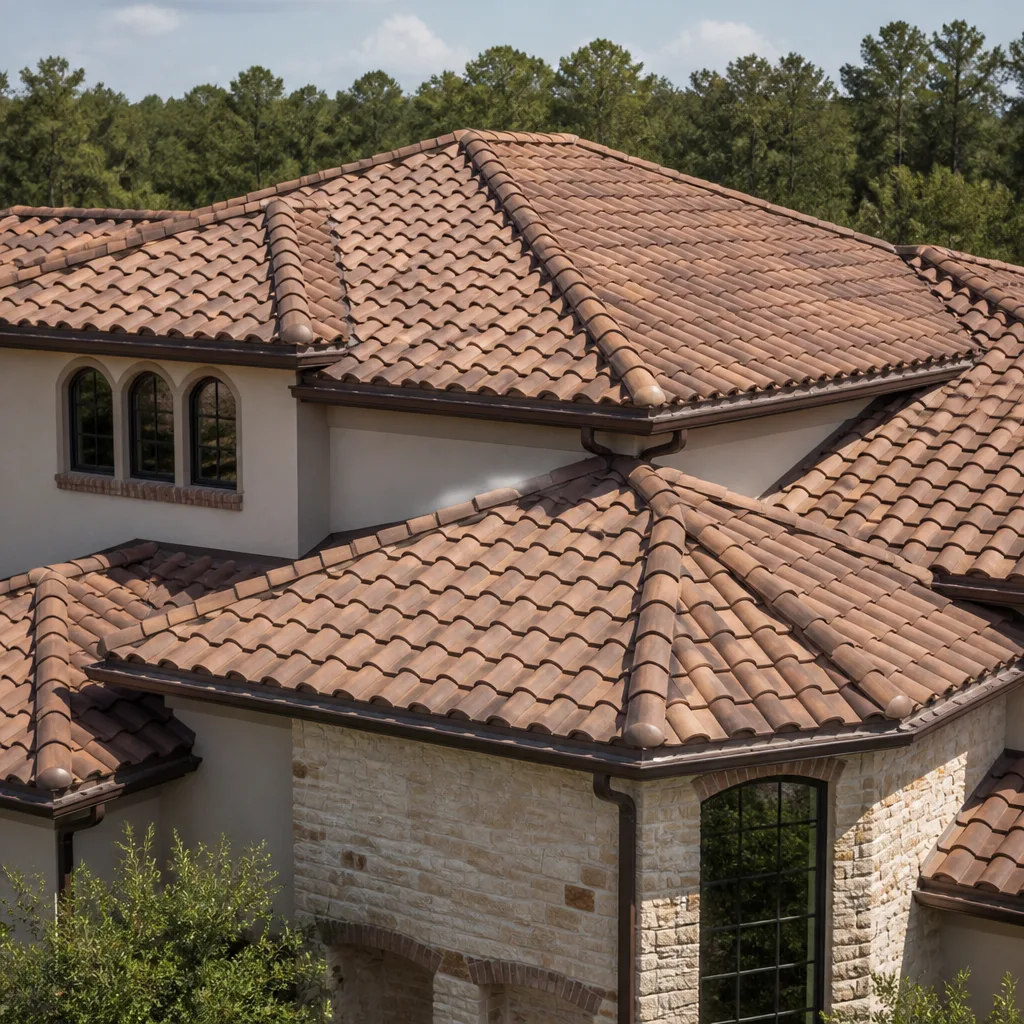 Tile roofing
 GAF
GAF Owens Corning
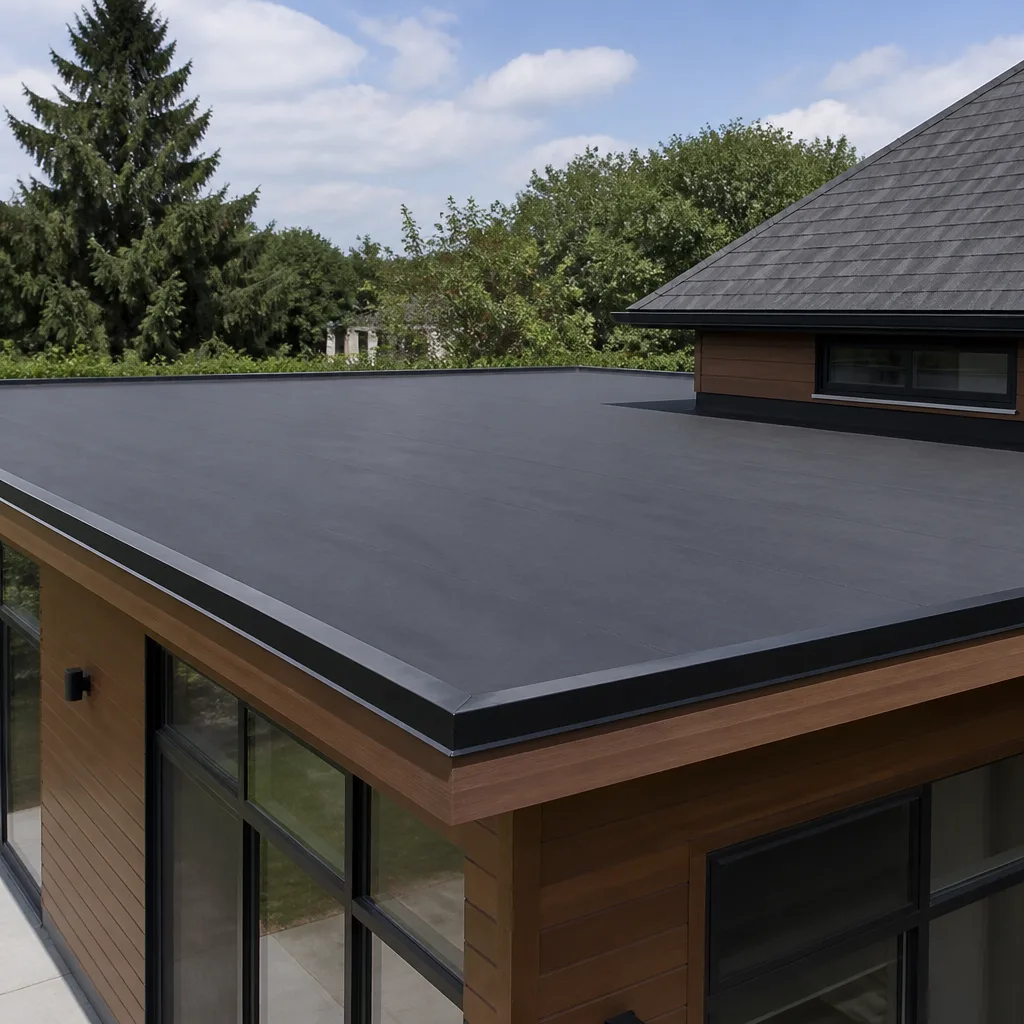 Flat & low-slope
Free roof inspection with deck photos before we talk money - GAF and Owens Corning certified installation
Roofing Company Maintenance Checklist for Dallas Homeowners
The average Dallas homeowner discovers a roof leak three to six months after the damage that caused it. That’s not a guess. It’s the gap between when hail strikes, flashing separates, or a seal dries out, and when the water finally travels far enough through the decking to show up as a brown stain on the ceiling. By that point, the repair is no longer a $400 flashing fix. It’s a $2,800 decking replacement plus drywall work. This guide-along with our more guides & resources-is built around the failure sequences we see repeatedly in Dallas, month by month, so you can check the right things at the right time and catch problems before they compound.
Quick Answer
A Dallas roof maintenance checklist should cover four seasonal passes: a February pre-storm check of flashing, ridge caps, and attic ventilation; a May post-hail inspection of impact points and granule loss; a September heat-and-UV check of south-facing slopes and HVAC penetrations; and a November pre-winter pass of gutters, drip edge, and chimney seals. Most Dallas roof failures start at flashing points, not shingle fields, so your checklist should prioritize transitions, penetrations, and edges over the broad roof plane.
Styles & brands we work with
Table of Contents
- February – March: The Pre-Storm-Season Checklist
- April – June: Hail Season Inspection Protocol
- What Granule Loss in Your Gutters Actually Tells You
- The HVAC Penetration Problem on Dallas Roofs
- July – September: Heat, UV, and the South-Facing Slope
- October – December: Pre-Winter Pass and Photo-Log
- Building a Photo-Log System for Insurance and Contractor Accountability
February – March: The Pre-Storm-Season Checklist
Dallas hail season runs roughly from March through June, with peak activity in April and May. By February, your roof has been through a North Texas winter: freeze-thaw cycles, occasional ice, and wind-driven rain. The goal of this pass is to find weak points before the first hailstorm finds them for you.
Here’s the checklist we give Dallas homeowners, in order of importance:
- Flashing at every transition. Flashing is the metal material that covers the joints where your roof meets something else: chimneys, walls, skylights, vents. In Dallas, flashing failure is the leading cause of roof leaks we repair. Check for lifted edges, missing sealant, rust, and gaps where the flashing meets the brick or siding. Use binoculars from the ground if you don’t want to climb a ladder.
- Ridge cap fasteners. Ridge caps are the shingles that run along the peak of your roof. They take the most direct wind exposure. Look for caps that appear lifted, cracked, or missing. A missing ridge cap shingle lets water run directly into the nail line, which means water under the shingle field within one rain event.
- Attic ventilation flow. Go into your attic on a cool morning. You should feel air moving. Check that soffit vents aren’t blocked by insulation (a common problem in Dallas homes where blown-in insulation has shifted over years). Poor ventilation doesn’t just shorten shingle life; it raises attic temperatures to 140 degrees or more in summer, which cooks the underside of your shingles from below.
- Pipe boots and vent collars. These are the rubber or neoprene seals around plumbing vents that stick through the roof. On a Dallas roof, they dry out and crack within 8 to 12 years, faster than the shingles around them. A cracked pipe boot leaks slowly, and the stain usually shows up on the bathroom ceiling first.
- Gutter fastener check. Gutters pulling away from the fascia mean water isn’t being carried off the roof edge. In Dallas’s spring downpours, that water pours down the side wall and finds any opening in the window flashing or brick mortar.
If you find one of these problems in February, you have time to fix it before storm season. If you find it in May, you’re fixing it after the rain has already done the damage. That’s the entire point of the pre-season pass.
April – June: Hail Season Inspection Protocol
After any significant Dallas hailstorm, you have a decision: get on the roof yourself, call a contractor, or file an insurance claim. Most homeowners skip straight to the claim. That’s often a mistake, because if the damage is below your deductible, you’ve now filed a claim that counts against you for no payout.
Here’s the 12-point ground check we recommend before you make any calls. You can do this from the ground with binoculars, and it takes about 15 minutes:
- Walk the perimeter and look for shingle granules on the driveway, walkways, and around downspout splash blocks.
- Check gutters for granule buildup. A thin, even layer is normal. Piles at downspout corners are not.
- Look at the ridge line for cracked or displaced ridge caps.
- Check roof valleys (where two roof planes meet) for exposed nail heads or shifted shingles.
- Inspect the flashing around chimneys for dents or lifted metal.
- Look at the pipe boots for cracks or tears.
- Check the drip edge (the metal strip along the roofline) for dents that could trap water.
- Inspect the siding and window screens for hail impact marks. Large dents in aluminum screens mean the hail was big enough to matter.
- Check patio covers, fences, and AC units for impact damage. These are your calibration points: if the AC fins are bent, the hail was severe enough to damage shingles.
- Look at the attic from inside for any daylight coming through the decking.
- Check ceilings in each room for fresh water stains, especially along exterior walls.
- Photograph everything, even if you’re not sure it’s damage.
Only after this ground pass should you decide whether to get on the roof or call a Roofing Company. If you do get on the roof, walk the ridge line first and work down, and never walk on a roof that’s wet or has visible decking damage.
What Granule Loss in Your Gutters Actually Tells You
Shingle granules are the ceramic-coated rock particles embedded in asphalt shingles. They’re not decorative. They protect the asphalt from UV radiation, which is why granule loss is the single most useful diagnostic signal on a Dallas roof.
Here’s how to read what you find:
- A light, even layer of granules in your gutters after installation or after a storm: Normal. New shingles shed loose surface granules for the first few months. A hail impact knocks granules loose at impact points. This is the roof doing its job.
- Piles of granules at downspout corners after a heavy rain: This indicates concentrated runoff is carrying granules from a damaged slope. Check the roof plane above that downspout.
- Granules on the ground only on the south and west sides of the house: This is UV-specific degradation. In Dallas, south-facing slopes take the most direct sun. Shingles there age 20 to 30 percent faster than north-facing slopes on the same house. If you see granule loss concentrated on one exposure, that slope is degrading faster, and it may need replacement while the rest of the roof is still serviceable.
- Bare spots on shingles where the asphalt is exposed: This is not normal shedding. This is shingle failure. Once the asphalt is exposed to Dallas UV, the shingle breaks down quickly, often within one or two seasons.
One thing to know: new shingles shed more granules than old ones. If your roof is 3 years old and you see granules in the gutter, that’s expected. If your roof is 15 years old and you see bare spots, you’re looking at replacement in the next 2 to 4 years. The distinction matters because it changes whether you patch, replace one slope, or re-roof entirely.
The HVAC Penetration Problem on Dallas Roofs
Dallas homes have more rooftop penetrations per square foot than almost any other market in the country. The reason is air conditioning. Older Dallas homes often have one or two rooftop AC units sitting on curbs, plus the refrigerant line penetrations and electrical conduit that go with them. Newer builds sometimes have three or four.
Every one of those curbs is a hole in the roof, and every hole has flashing. Here’s what we see in Dallas, over and over:
- AC curb flashing fails first. The vibration from the compressor unit works the flashing loose over time. The sealant dries out. The metal separates from the curb. Water finds the gap.
- Leaks at AC penetrations are slow. They don’t pour. They seep. By the time the homeowner sees a stain on the ceiling, the decking under the unit has been wet for months, and the repair involves pulling the unit, replacing the decking, re-flashing, and resetting the unit. That’s a $1,500 to $3,000 repair in Dallas, versus a $200 annual inspection that would have caught the seal failure early.
- Multiple penetrations multiply failure probability. A roof with one AC curb, two plumbing vents, a chimney, and a skylight has six flashing points. Each one is a potential leak. The roof shingle field may be perfectly fine, but if any one flashing point fails, you have water in the house.
The annual check is simple: look at every penetration from the attic side for water staining on the decking around the penetration, and look from the roof side for cracked sealant, lifted flashing, or rust. If the sealant looks chalky or has hairline cracks, it’s time to re-seal. On a Dallas roof, this is a spring and fall task, every year, no exceptions.
July – September: Heat, UV, and the South-Facing Slope
Dallas summer is the stress test for everything on your roof. Attic temperatures run 130 to 150 degrees. The roof surface can hit 170. That heat does specific things to specific materials, and if you know what to look for, you can catch degradation early.
Here’s the late-summer checklist:
- Check south and west slopes for cupping or curling shingles. Cupping is when the edges of a shingle curl upward. Curling is when the corners lift. Both are heat-driven. Once shingles cup, wind gets under them in the next storm season and you lose shingles.
- Inspect the attic for heat-warped decking. If the plywood decking is warping or delaminating, your attic ventilation is insufficient. This is a structural issue that gets worse every summer until it’s fixed.
- Check the ridge vent for blockage. Ridge vents are the most common exhaust ventilation in Dallas homes. Bird nests, dust buildup, and damaged shingles over the vent all reduce airflow. A partially blocked ridge vent means your attic runs hotter, which means your shingles age faster, which means you replace the roof sooner.
- Look for heat-related sealant failure at every penetration. The caulk and sealant used around flashing, vents, and pipe boots degrade faster in continuous 100-degree heat. What was flexible in March is brittle by August.
- Inspect the drip edge for heat expansion gaps. Drip edge is the metal flashing at the roof’s edge that directs water into the gutter. In Dallas heat, it expands and contracts. If it was installed tight without room for movement, it buckles. Buckled drip edge traps water against the fascia and rots it out over 3 to 5 years.
One thing Dallas homeowners often miss: your roof doesn’t just weather storms. It weathers weeks of 100-degree sun. The heat damage accumulates invisibly, then a modest spring storm strips the weakened shingles off. That’s why the August check matters as much as the post-hail check.
October – December: Pre-Winter Pass and Photo-Log
The fall pass is about water. Dallas gets its heaviest sustained rain in fall and winter, and by November the leaves are down and clogging gutters. Here’s the sequence:
- Clean the gutters and downspouts completely. Clogged gutters in Dallas mean water backs up under the shingle overhang and rots the decking edge. This is a $500 to $1,200 repair that’s entirely avoidable.
- Check the drip edge and fascia for rot. Poke the fascia board at the corners and behind downspouts with a screwdriver. If it’s soft, it’s rotting. This is where gutter clogs do their damage.
- Inspect chimney flashing and mortar. Dallas freeze-thaw cycles crack chimney mortar. Water gets into the cracks, freezes, and widens them. Check the chimney crown, the flashing where the chimney meets the roof, and the mortar joints every fall.
- Verify attic insulation hasn’t shifted. If insulation has pulled back from the eaves, the roof deck perimeter gets cold in winter while the interior heats it. That thermal differential causes condensation, which causes decking rot. This is a slow, invisible problem that shows up when the roof is replaced and suddenly the decking is rotten at the edges.
- Take your six-month photo set. Same angles, same spots, every time. See below for the system.
This is also the time to handle any small repairs you deferred. A small flashing fix in October costs a fraction of what the same problem costs in March, after a winter of rain has saturated the decking.
Building a Photo-Log System for Insurance and Contractor Accountability
If you take nothing else from this guide-along with our Roofing Cost Breakdown: The Dallas Homeowner’s Reference for 2026-take this: document your roof on the same schedule you inspect it. A photo-log does three things. It shows you what’s changing over time. It gives you evidence for insurance claims. And it keeps any contractor you hire accountable to the original condition.
Here’s the system, built for Dallas homeowners specifically:
- Pick six fixed photo points. Front elevation, rear elevation, left and right gable ends, the south slope, and the attic interior at the ridge. Same six shots every time.
- Take them in the same order, same season, twice a year. Once in March, once in October. That’s 12 photos a year. Ten years of photos takes up almost no digital storage and is worth thousands when an insurance adjuster asks for proof of prior condition.
- Add close-up shots of anything you flagged. Lifted flashing, cracked pipe boot, granule pile at a downspout. A close-up next to a wider shot gives the adjuster context.
- Store them in a folder with the date in the filename. “roof-front-2025-03-15.jpg” is a lot more useful in a claim than “IMG_4827.jpg.”
- Include the ground-level hail check photos after every storm. If you file a claim six months after a storm, those photos are the difference between an approved claim and a denied one.
This system also changes the conversation when you hire a contractor. When you can show a roofer before photos from March and after photos from October, the conversation shifts from “what’s wrong” to “here’s what changed.” That’s the conversation every honest contractor wants to have, and it’s the one that keeps honest contractors honest.
Common Mistakes to Avoid
- Inspecting only after a storm. If the only time you look at your roof is after hail, you’re always reacting. The February pass catches problems before they become storm damage, which is a lot cheaper.
- Assuming granule loss is always bad. New shingles shed granules. The question is where, how much, and whether the asphalt is showing. Misreading this signal leads to replacing a roof too early or too late.
- Ignoring the flashing because “the shingles look fine.” In Dallas, the most common leak source we see is flashing at penetrations and transitions, not the shingle field. A roof can look perfect from the street and be leaking at four separate flashings.
- Treating the AC unit as an appliance-only problem. Rooftop AC curbs leak. The unit works fine while the roof rots underneath it. Check the curb as a roof component, not an HVAC component.
- Filing an insurance claim before a ground inspection. If the damage is below your deductible, you’ve filed a claim for nothing. Do the 12-point ground check first. Then decide.
- Getting on the roof after a storm without checking the decking. Hail can compromise decking. Walking on weakened decking is how homeowners fall through roofs. If you’re not sure, call a professional.
- Skimping on attic ventilation because it’s “out of sight.” Attic ventilation is the single biggest factor in shingle lifespan on a Dallas roof. Neglect it and you’re replacing the roof 5 to 8 years early.
See the difference
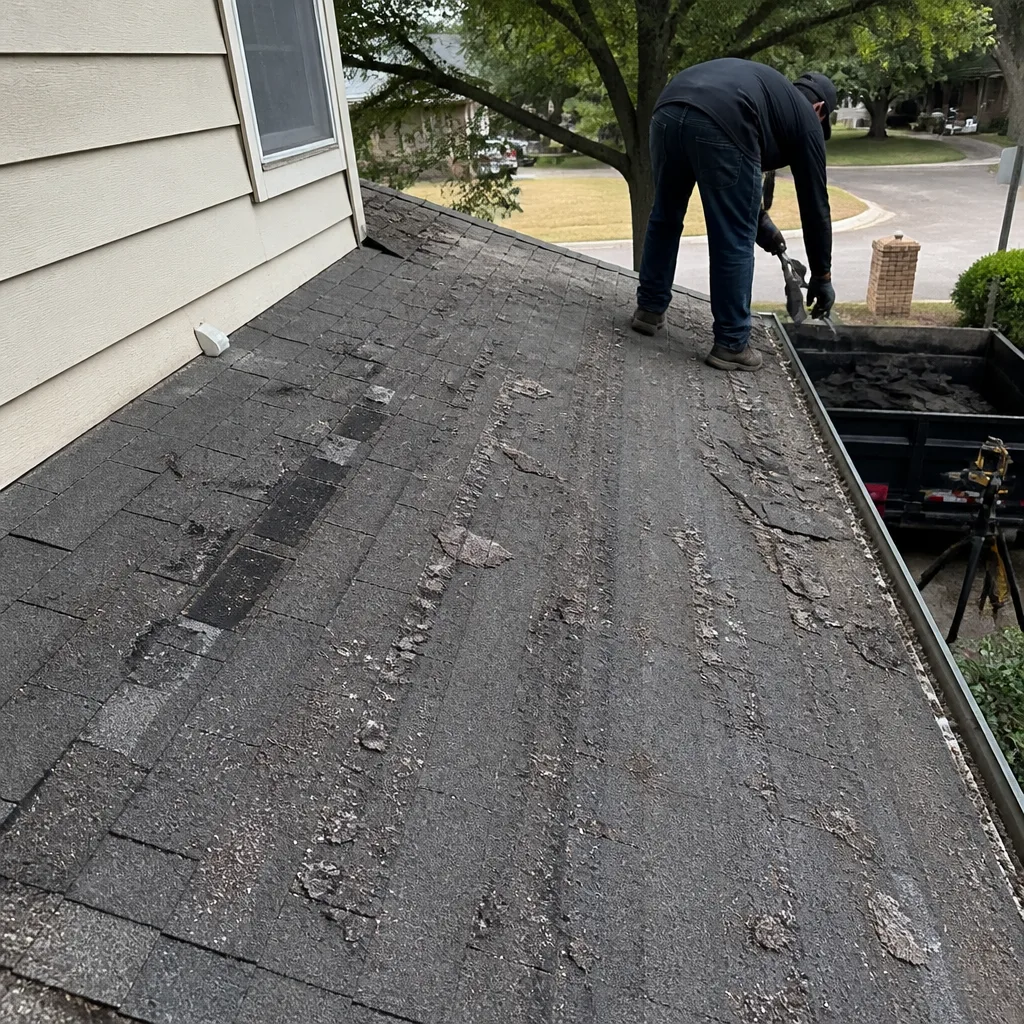 Before
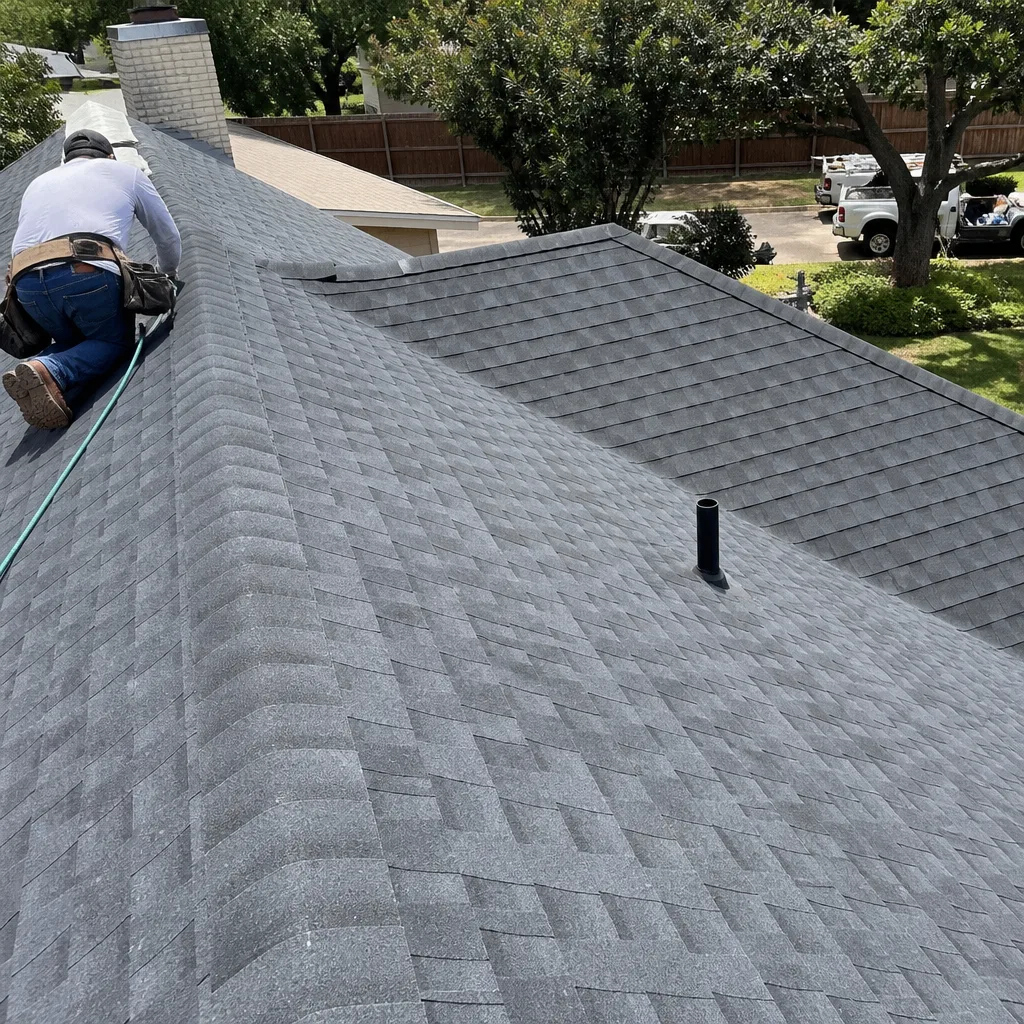 After
After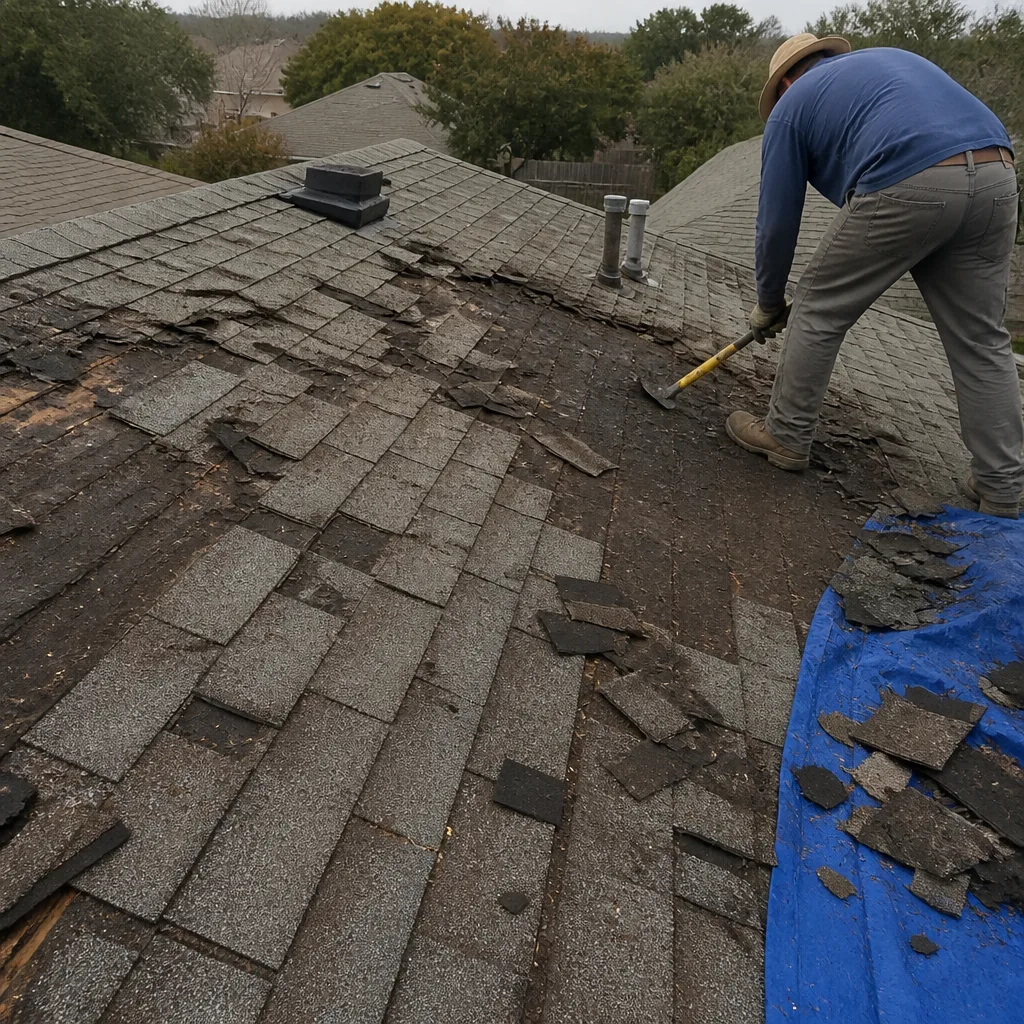 Before
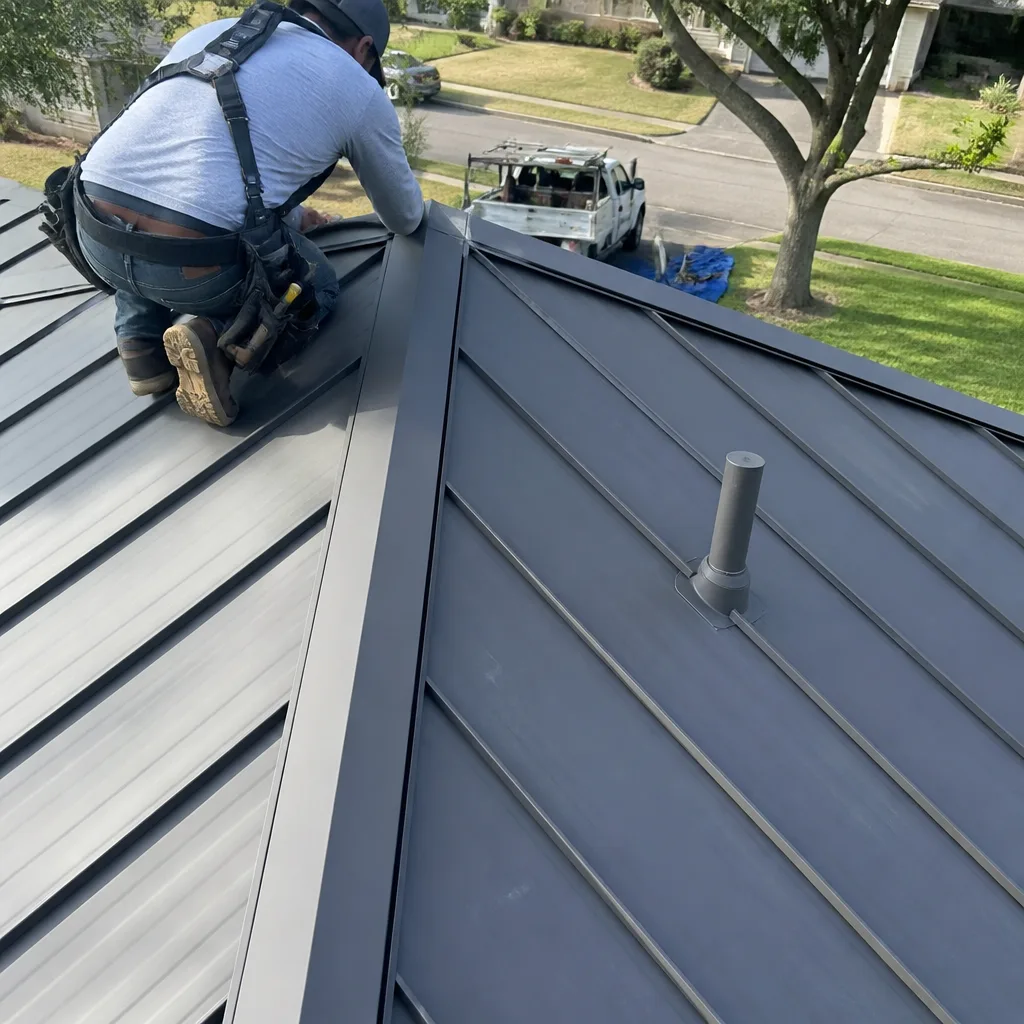 After
After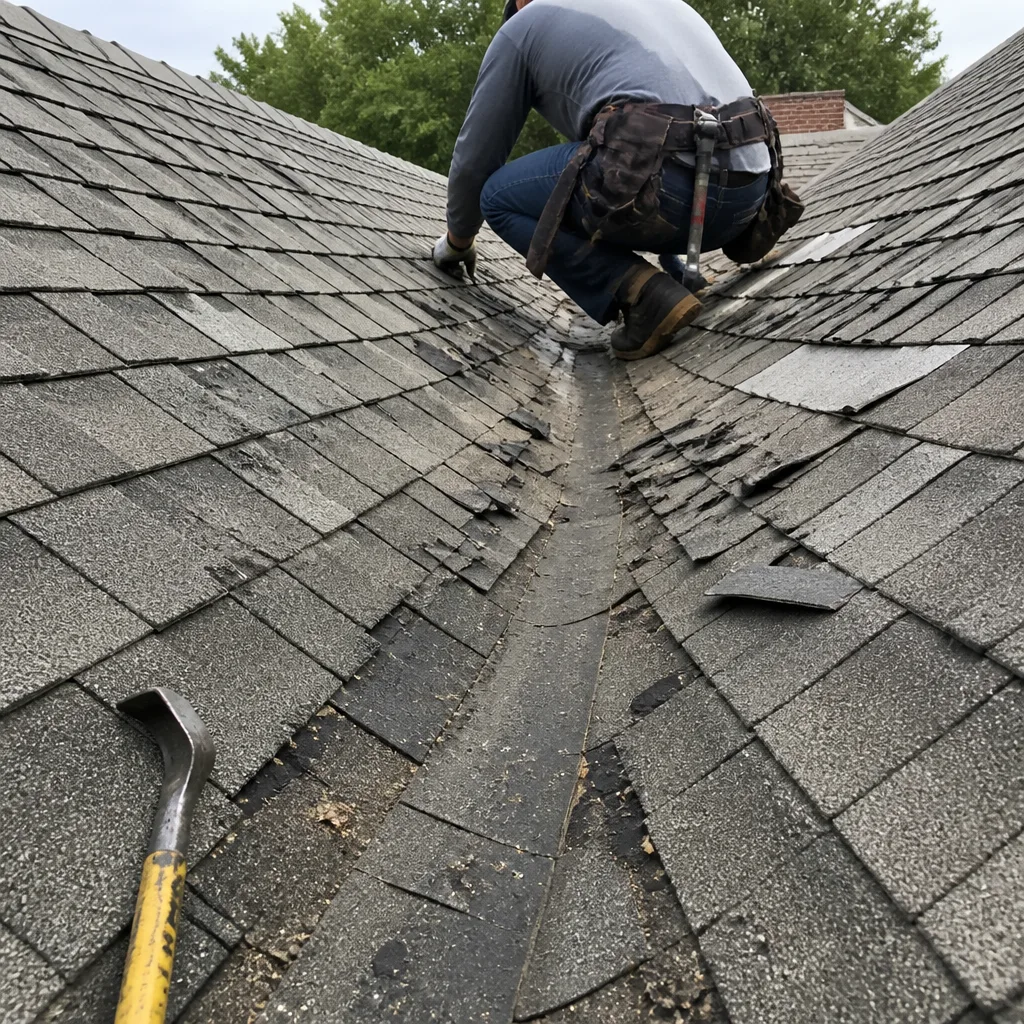 Before
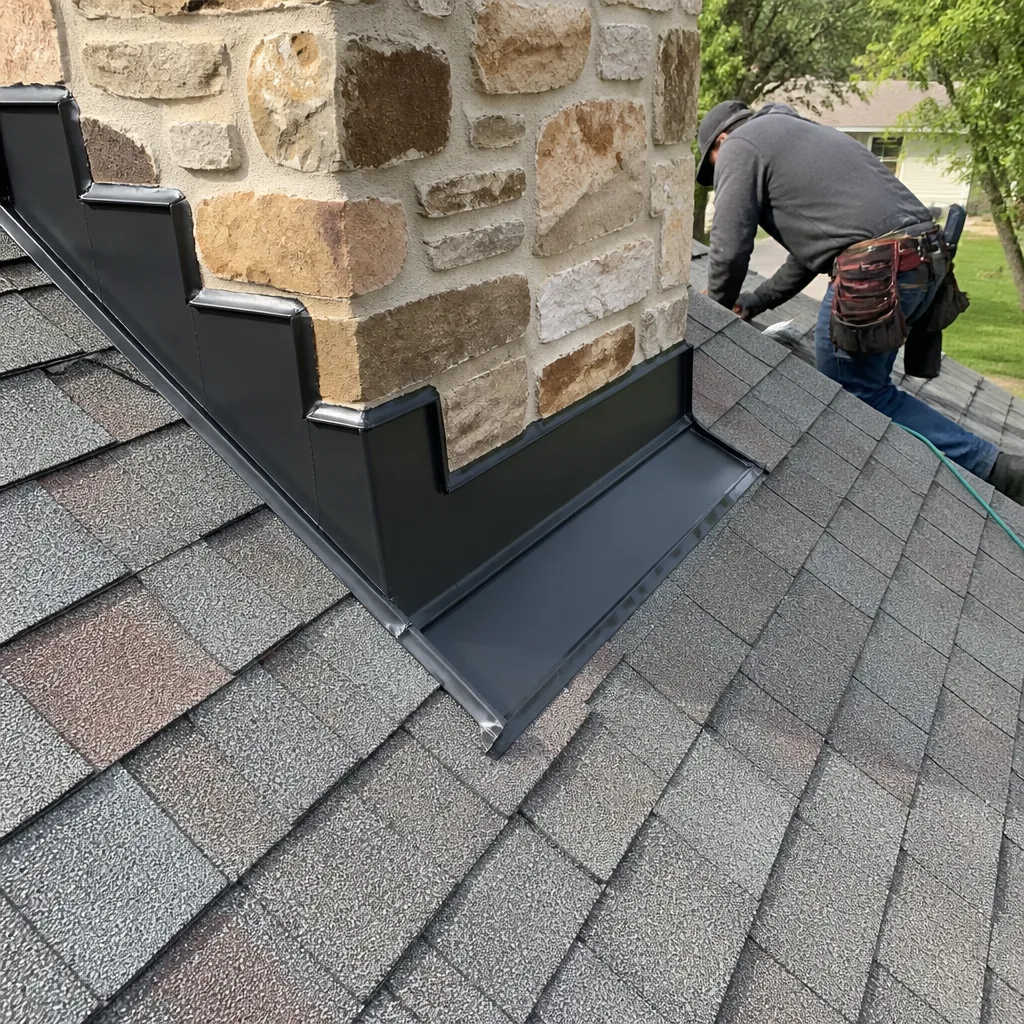 After
AfterWhen to Call a Professional
Some things are ground-checkable with binoculars. Some are not. Call a professional when you see daylight through the decking from inside the attic, when water has stained the ceiling, when multiple shingles are missing after a storm, when the decking feels soft from the attic side, or when you find the same flashing problem you “fixed” last year. If the issue involves getting on the roof and you’re not comfortable on a ladder, that’s the other reason to call. A roof inspection in Dallas runs $200 to $400 depending on size and access, and that’s a small price for knowing what you’re actually dealing with. Roof Inspection in Dallas is a service we offer with a written report you can keep for your records. Brennan Roofing Co Dallas offers free estimates in Dallas; call (903) 499-4441.
Frequently Asked Questions
Twice a year, in March and October, plus after any significant hail event. The March pass is your pre-storm-season check, and the October pass is your pre-winter water check. If your roof is over 10 years old or you have multiple rooftop AC penetrations, a professional roof inspection in Dallas every other year is worth the cost; see also Roofing Permits, Codes & Inspections in TX: What You Need to Know.
Most Dallas roofing companies charge $200 to $400 for a thorough roof inspection, depending on roof size, pitch, and access. Some companies offer free inspections when performed as part of an estimate for repair work. At Brennan Roofing Co Dallas, every inspection starts with the same process: a ground pass, an attic check, and a written report of what we found. Call (903) 499-4441 for current inspection pricing.
Flashing failure at penetrations and transitions. Dallas has a high concentration of rooftop AC curbs, chimneys, and plumbing vents on every roof, and each one is a potential leak point. The shingle field can be in perfect condition while a failed pipe boot or AC curb flashing lets water into the decking.
No. Hail under about 1 inch in diameter rarely damages a roof that’s in good condition. The threshold where insurance adjusters typically look for damage is 1 to 1.25 inches, and even then, the roof’s age, shingle type, and slope angle all matter. That’s why the ground check before a claim matters so much.
An architectural shingle roof in Dallas lasts 15 to 25 years, depending on ventilation, installation quality, and the number of significant hail events. Poorly ventilated attics can cut that to 12 to 15 years. South-facing slopes wear out faster than north-facing ones on the same house.
Ground-level checks with binoculars, gutter cleaning, and photo documentation are all DIY tasks. Working on the roof itself, especially at flashing points or on steep pitches, is where a professional matters. If you’re unsure about safety or what you’re seeing, Roof Repair in Dallas is a service we offer with upfront pricing before any work starts. Call (903) 499-4441 and we’ll walk you through what we’re seeing, in plain English.
The Bottom Line
Dallas roofs fail in predictable ways, and the homeowners who catch those failures early are the ones who inspect on a schedule rather than after a storm. The February pre-storm pass catches flashing problems before hail season. The post-hail ground check tells you whether a claim is worth filing. The September heat pass catches UV degradation before it becomes shingle loss. The November water pass handles the freeze-thaw issues before winter. Do those four passes, keep the photo-log, and treat every AC penetration, chimney, and pipe boot as its own roof system, and you’ll replace your roof on your timeline, not the storm’s.
Written by Travis Oakley, Owner at Brennan Roofing Co Dallas, serving Dallas since 2000.